How to Operate a CNC Press Brake: Step-by-Step Guide for Safe & Accurate Bending
- Conhecimento, Notícias
- 90+ reading now
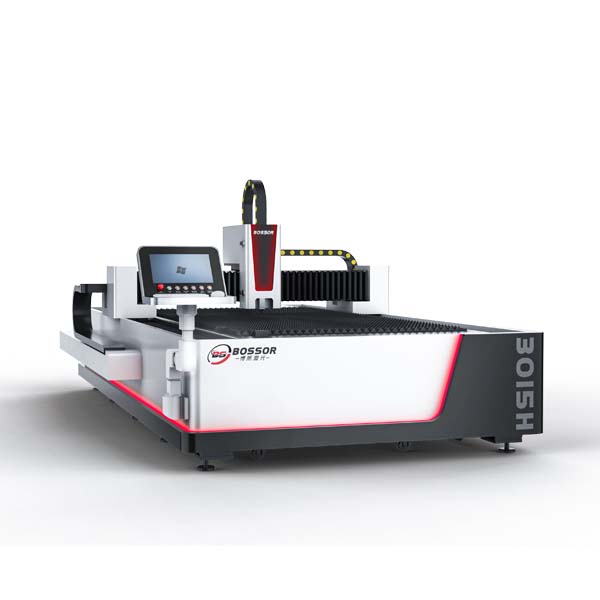
Durmapress specializes in designing, manufacturing, and selling various metal processing equipment, including bending machines, shears, punches, and laser cutting machines. The company was founded in 2014, with years of experience and technology accumulation. DurmaPress has become one of the well-known brands in China's metal processing machinery industry.

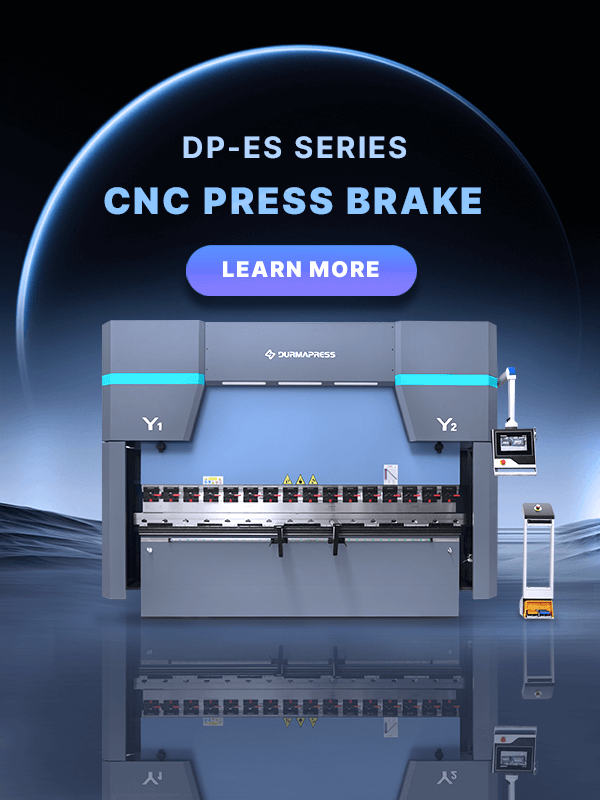
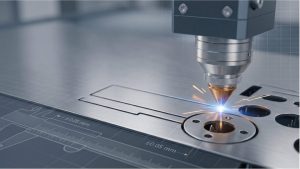
A Prensa dobradeira CNC is a hydraulic bending machine controlled by a computer numerical control system. It clamps sheet metal between a punch and a die, then drives the ram downward to form a precise bend. Unlike manual or NC machines, a CNC press brake calculates ram depth, backgauge position, and bend sequence automatically — which is why setup time drops significantly and part consistency improves across production runs.
The machines handle a wide range of materials: mild steel, stainless steel, aluminum, brass, and copper. What matters more than the machine's brand is understanding how it works before you touch the controls.

You don't need to be a mechanical engineer, but you do need to know what each part does. Misunderstanding the backgauge or ignoring the safety devices is how accidents and scrap parts happen.
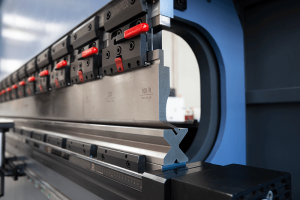
The hydraulic system generates and transmits the force that moves the ram. It includes a pump, cylinders (typically labeled Y1 and Y2 on left and right sides), valves, and hydraulic lines. Pressure is adjustable depending on material thickness and required tonnage. An abnormal drop in oil pressure or unusual noise from the pump is a warning sign — don't ignore it.

The controller is the interface between the operator and the machine. It processes the program inputs and sends positioning commands to the ram and backgauge. Most modern systems display real-time feedback — current position, pressure, and angle deviation. Learn your specific controller model; the logic differs between brands like DELEM, ESA, or Cybelec.
The backgauge positions the sheet metal before each bend. It moves in and out along ball screws driven by a motor, stopping at the exact X-axis position defined in the program. The "fingers" on the gauge bar are what the sheet actually rests against. If the backgauge is even slightly out of calibration, every flange dimension will be off — which is why checking its position before a production run matters.

The punch applies downward force; the die supports the material from below and determines the bend radius. Die opening width should be approximately 8 times the material thickness — a 4mm plate needs roughly a 32mm V-opening. Using the wrong tooling combination is one of the most common causes of inaccurate angles and material cracking.
If you want a deeper understanding of tooling options, read our guide on press brake dies.
Standard safety equipment includes light curtains, protective guards, interlock switches, and emergency stop buttons. Light curtains are particularly important — they detect any intrusion into the bending zone and immediately halt the ram. Know where the emergency stop is before you start. That's not a formality; it's the first thing you check.
Setup is where most errors originate. A rushed or incomplete setup leads to scrap parts, retooling time, and in some cases, machine damage. Take the time to do it right the first time.
Choose the punch and die based on material type, thickness, and required bend angle. Align the punch and die carefully in their holders and check that clearances are correct before tightening. Misaligned tooling will produce uneven bends across the part length — especially noticeable on longer workpieces.

Input the required backgauge position through the controller or adjust manually if needed. Verify the position matches the programmed dimension before running any material. For jobs with multiple bends, confirm each step's backgauge position in sequence during the test run.
Ensure the machine is connected to a dedicated circuit with proper grounding. Power on the oil pump and listen — a healthy pump runs smoothly. Check hydraulic oil level, verify that safety devices are active, and confirm the controller initializes without error codes before loading any material.
Programming is not as complicated as it looks, but it does require you to understand the relationship between material properties and machine parameters. Entering numbers without understanding what they represent will produce wrong bends.
Enter material type, thickness, and tensile strength into the controller. These values directly affect how the system calculates the bend deduction and springback compensation. Harder materials spring back more — the controller adjusts the ram depth accordingly to hit the target angle.
For multi-bend parts, the sequence matters. The wrong order can make it physically impossible to position the part for later bends. Most CNC systems allow you to define each bend step individually — angle, depth, backgauge position, and speed. Program each step in the order the bends will actually be made.
Always run the first bend on a scrap piece of the same material and thickness. Measure the result with an angle gauge before running production parts. This step is not optional — even experienced operators do test bends when switching materials or tooling.

With setup and programming complete, the actual bending process is straightforward. Load the sheet against the backgauge fingers, confirm it's flush and properly supported, then activate the ram with the foot pedal. The machine will follow the programmed sequence automatically.
A few things to keep in mind during the bend:
The foot pedal allows instant pause — release it to stop, press again to resume. This is useful when repositioning large sheets between bends.
Most press brake accidents are preventable. They happen when safety devices are bypassed, PPE is skipped, or operators work too fast on unfamiliar setups.
Minimum requirements:
A CNC press brake that's maintained consistently outlasts one that isn't by years. The basics are not complicated:
Keep a maintenance log. If something fails and there's no record of when it was last serviced, troubleshooting takes longer than it should.
This section doesn't appear in most operating guides, which is exactly why it's worth including.
1.Skipping the test bend.
The assumption that last job's settings still apply is responsible for a significant amount of scrap material. Material batches vary.
2.Ignoring springback.
Softer materials conform to the die angle more readily; harder materials don't. A 90° bend on mild steel and the same angle on stainless steel require different ram depths.
3.Wrong die opening selection.
Using too narrow a die for thick material increases the risk of cracking. Using too wide a die reduces angular accuracy.
4.Operating without understanding the program.
If you load a program without checking what it does, you're trusting whoever wrote it completely. Always review the bend sequence before running.
5.Bypassing safety devices "just this once."
There is no "just this once" with a 100-ton hydraulic machine.
Operating a CNC press brake accurately comes down to three things: understanding the machine, following the setup process without shortcuts, and staying consistent with maintenance. The mistakes that cost fabricators time and material are almost always avoidable — they come from rushing setup, skipping test bends, or assuming yesterday's parameters still apply today.
If you're looking for a reliable CNC press brake for your production line, Durmapress offers a full range of hydraulic and electric press brakes built for precision and durability. Contactar-nos to discuss your bending requirements and get a tailored recommendation.
Preencha as informações abaixo para receber um orçamento gratuito e uma brochura do produto. Responderemos dentro de 24 horas!